Don't
forget you can CLICK on a photo to view a larger image.
Go to January 2009
December 2009
- Striking frame.
return to Latest News
|
|
|
|
|
|
|
|
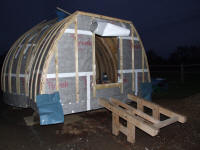
The finished striking frame. This frame will carry a chain wheel and associated gearing used to open and close the shutters in the sails. |
|
(4th December 2009) |
|
|
|
|
|
|
|
|
|
|
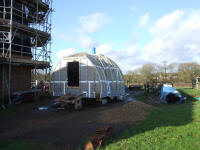
Another view of the striking frame. |
|
(6th December 2009) |
|
|
|
|
|
|
|
|
|
|
|
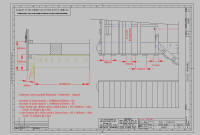
Details of the petticoat or skirt, which covers the gap between the tower and the cap. |
|
(Drawn on AutoCAD LT97) |
|
|
|
|
|
|
|
|
|
|
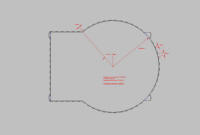
The pitch of the boards had to be carefully set-out. |
|
(Drawn on AutoCAD LT97)
|
|
|
|
|
|
|
|
|
|
|
|
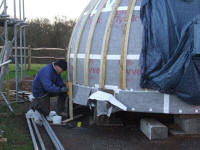
David starting to fit the skirt boarding. |
|
(12th December 2009) |
|
|
|
|
|
|
|
|
|
|
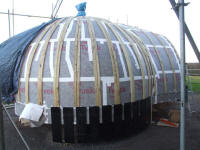
The main boards are set-out with a gap over which teh cover boards are fitted. |
|
(10th December 2009) |
|
|
|
|
|
|
|
|
|
|
|
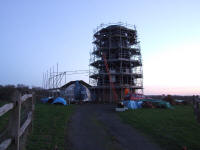
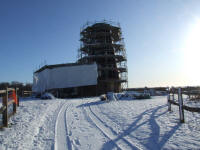
As winter was approaching the decision was made to erect a scaffold cover so work could continue. |
|
(10th December 2009) |
|
|
|
|
|
|
|
|
|
|
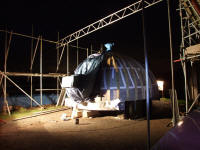
The scafolding taking shape. |
|
(12th December 2009) |
|
|
|
|
|
|
|
|
|
|
|
All snug, well almost if it wasn't for the gaps to spill the wind (to prevent the sheeting from blowing off) |
|
(20th December 2009) |
|
|
|
|
|
|
November 2009
- Battens and striking frame.
back to top of page
|
|
|
|
|
|
|
|
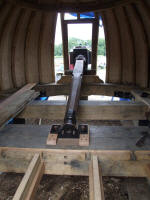
The windshaft from inside the cap with the rear floor boarding removed ready to fit the striking frame. |
|
(4th November 2009) |
|
|
|
|
|
|
|
|
|
|
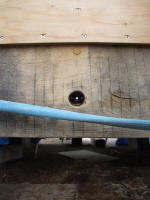
A hole was bored through the rear tie beam for the striking rod. This photo is through this hole and through the windshaft all the way to the front. |
|
(4th November 2009) |
|
|
|
|
|
|
|
|
|
|
|
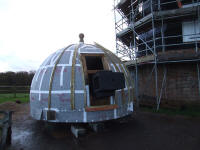
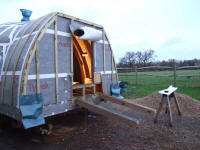
Starting the battens (for the weatherboarding). |
|
(15th November 2009) |
|
|
|
|
|
|
|
|
|
|
The main beams of the striking frame in place. |
|
(23rd November 2009) |
|
|
|
|
|
|
|
|
|
|
|
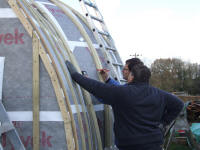
David and his brother Eddie hard at work discussing some tricky battens. |
|
(26th November 2009) |
|
|
|
|
|
|
|
|
|
|
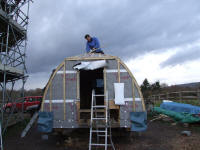
David fixing the battens at the top. |
|
(26th November 2009) |
|
|
|
|
|
|
|
|
|
|
|
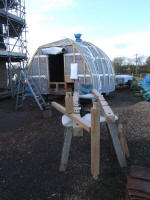
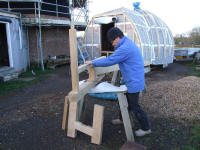
Part of the striking frame assembled. |
|
(28th November 2009) |
|
|
|
|
|
|
|
|
|
|
David assembling the striking frame parts. |
|
(28th November 2009) |
|
|
|
|
|
|
|
|
|
|
|
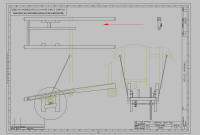
Details of the striking frame. |
|
(Drawn on AutoCAD LT97) |
|
|
|
|
|
|
|
|
|
|
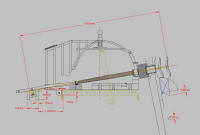
In order to decide where the striking frame would fit the entire mechanism down to the sail shutters had to be drawn out. |
|
(Drawn on AutoCAD LT97) |
|
|
|
|
|
|
go to December 2009
October 2009
- Rear flooring and membrane fitting.
back to top of page
|
|
|
|
|
|
|
|
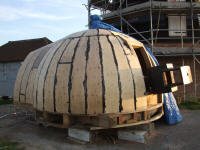
The plywood joints sealed ready for the Tyvek breather membrane. |
|
(1st October 2009) |
|
|
|
|
|
|
|
|
|
|
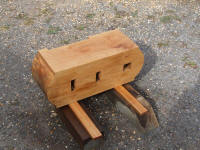
One of the worm gear bearing hangers ready to fit. |
|
(4th October 2009) |
|
|
|
|
|
|
|
|
|
|
|
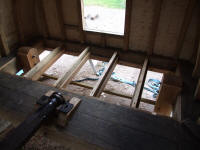
One of the worm gear bearing hangers fitted into the rear of the cap. |
|
(4th October 2009) |
|
|
|
|
|
|
|
|
|
|
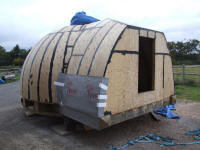
Starting to fit the Tyvek breather membrane. |
|
(4th October 2009) |
|
|
|
|
|
|
|
|
|
|
|
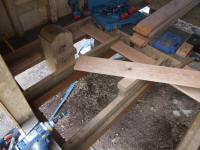
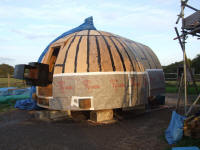
Boarding out the rear of the cap (this part overhangs the tower when in situ). |
|
(10th October 2009) |
|
|
|
|
|
|
|
|
|
|
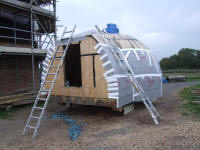
Tyvek fitting continues. |
|
(10th October 2009) |
|
|
|
|
|
|
|
|
|
|
|
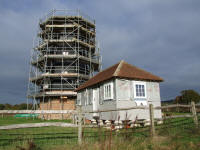
The first windows are fitted into the granary and they look fantastic - well done to David Archer for his superb joinery. |
|
(15th October 2009) |
|
|
|
|
|
|
|
|
|
|
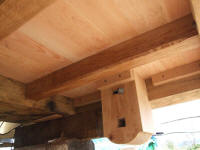
The completed cap flooring from beneath. Note, the square hole in the worm gear hanger is to receive a bearing housing. |
|
(15th October 2009) |
|
|
|
|
|
|
|
|
|
|
|
Tyvek covering nears completion. |
|
(20th October 2009) |
|
|
|
|
|
|
|
|
|
|
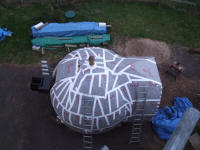
Completion of the Tyvek membrane. This was very time consuming and used a lot of jointing tape due to the curvature of the cap. |
|
(25th October 2009) |
|
|
|
|
|
|
|
|
|
|
|
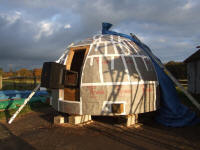
There will be a window above the windshaft and an aluminium bulkhead where the shaft protrudes below. |
|
(28th October 2009) |
|
|
|
|
|
|
go to November 2009
September 2009
- Rectification work continues.
back to top of page
|
|
|
|
|
|
|
|
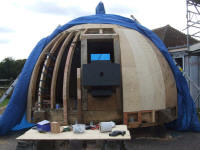
Even the front plywood had to be replaced! |
|
(6th September 2009) |
|
|
|
|
|
|
|
|
|
|
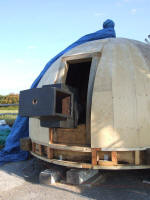
Completing the recification to the front. |
|
(15th September 2009) |
|
|
|
|
|
|
|
|
|
|
|
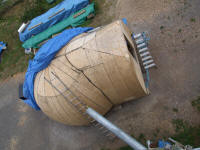
The cap from above. |
|
(20th September 2009) |
|
|
|
|
|
|
go to October 2009
August 2009
- Rectification work on the cap front.
back to top of page
|
|
|
|
|
|
|
|
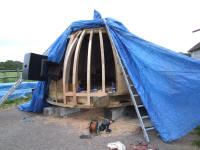
Rebuilding the front cap ribs to recitify a previous error in the position of the weather beam (the large cross timber at the front of the cap). |
|
(30th August 2009) |
|
|
|
|
|
go to September 2009
July 2009
- Work re-starts on the cap.
back to top of page
|
|
|
|
|
|
|
|
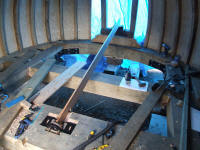
The rear windshaft bearing is fitted and a template is in place to line the front bearing up at the correct angle. |
|
(19th July 2009) |
|
|
|
|
|
|
|
|
|
|
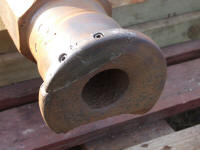
Repair of the flange at the rear of the cast iron windshaft. The lower piece is missing and I have left it unrepaired. |
|
(23rd July 2009) |
|
|
|
|
|
|
|
|
|
|
|
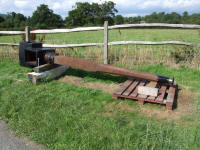
The windshaft ready to fit; the remaining painting will take place in situ. |
|
(25th July 2009) |
|
|
|
|
|
|
|
|
|
|
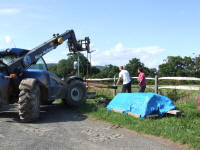
Lifting the windshaft. |
|
(25th July 2009) |
|
|
|
|
|
|
|
|
|
|
|
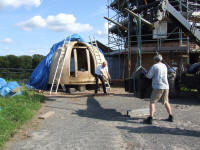
Preparing the ground to place the windshaft ready for the final lift. |
|
(25th July 2009) |
|
|
|
|
|
|
|
|
|
|
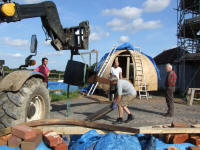
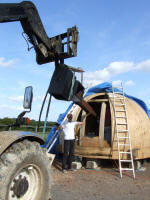
The final lift starting. |
|
(25th July 2009) |
|
|
|
|
|
|
|
|
|
|
|
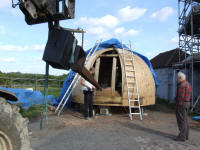
Peter Mobbs watching progress. |
|
(25th July 2009) |
|
|
|
|
|
|
|
|
|
|
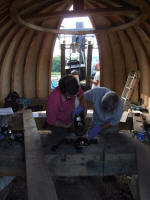
David Woolston guiding the shaft into the mill. |
|
(25th July 2009) |
|
|
|
|
|
|
|
|
|
|
|
Lining up the fit into the rear bearing. |
|
(25th July 2009) |
|
|
|
|
|
|
|
|
|
|
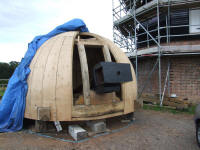
Windshaft in place with special thanks of help to Steve from Eversheds farm (for doing the lifting), David Woolston and David Archer. |
|
(25th July 2009) |
|
|
|
|
|
|
go to August 2009
June 2009
- Completion of tower boarding.
back to top of page
|
|
|
|
|
|
|
|
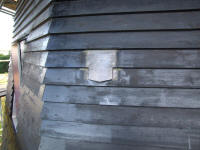
One of the specially made lead cowlings over a room vent. |
|
(2nd June 2009) |
|
|
|
|
|
|
|
|
|
|
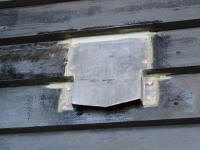
Close up of the lead cowling. |
|
(2nd June 2009) |
|
|
|
|
|
|
|
|
|
|
|
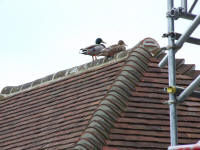
"Um....this looks a handy place to rest". |
|
(13th June 2009) |
|
|
|
|
|
|
|
|
|
|
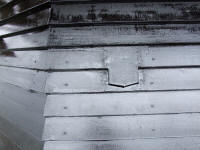
The finished vent cowling in the horizontal boarding. |
|
(27th June 2009) |
|
|
|
|
|
|
|
|
|
|
|
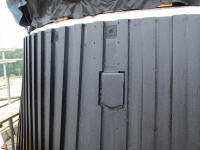
The finished vent cowling in the veritical boarding. Compare this with the photo of 22nd March. |
|
(27th June 2009) |
|
|
|
|
|
|
go to July 2009
May 2009
- Vertical boarding continues.
back to top of page
|
|
|
|
|
|
|
|
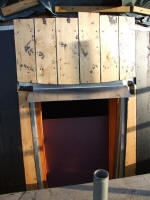
Boarding around the top window, note the awning slot looks strange as the boarding above is on the round part of the tower. |
|
(11th May 2009) |
|
|
|
|
|
go to June 2009
April 2009
- Vertical boarding continues.
back to top of page
|
|
|
|
|
|
|
|
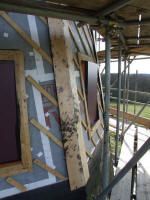
The corner boards are mitred. |
|
(5th April 2009) |
|
|
|
|
|
|
|
|
|
|
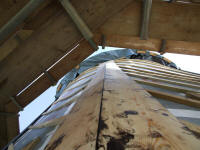
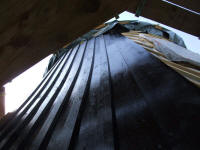
Looking up the corner mitre. |
|
(5th April 2009) |
|
|
|
|
|
|
|
|
|
|
|
Cover strips are fitted over the gaps between the boards to finish. |
|
(5th April 2009) |
|
|
|
|
|
|
|
|
|
|
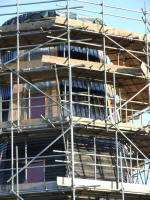
Boarding progress. |
|
(13th April 2009) |
|
|
|
|
|
|
|
|
|
|
|
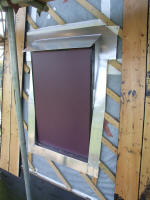
Window aperture all flashed and ready to board around. |
|
(24th April 2009) |
|
|
|
|
|
|
|
|
|
|
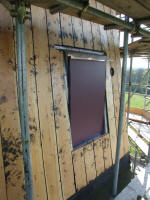
All boarded, again leaving a slot for the window awning. |
|
(24th April 2009) |
|
|
|
|
|
|
go to May 2009
March 2009
- Vertical boarding starts.
back to top of page
|
|
|
|
|
|
|
|
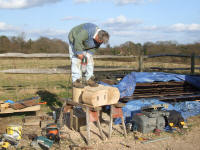
John Fullick drilling one of the worm gear hangers for the cap. |
|
(2nd March 2009) |
|
|
|
|
|
|

|
|
|
|
The battens for the vertical boarding are set at an angle to allow any water penetration to run away. |
|
(13th March 2009) |
|
|
|
|
|
|
|
|
|
|
|
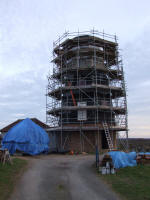
Boarding progress. |
|
(13th March 2009) |
|
|
|
|
|
|
|
|
|
|
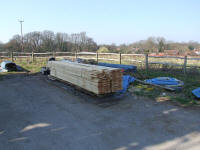
Delivery of the timber for the vertical boarding. |
|
(20th March 2009) |
|
|
|
|
|
|
|
|
|
|
|
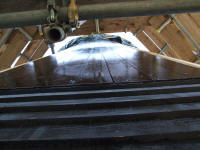
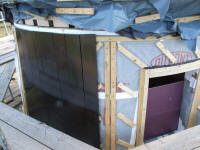
Vertical boarding looking up towards the top, notice the boards bend where the tower is round at the top. |
|
(22nd March 2009) |
|
|
|
|
|
|
|
|
|
|
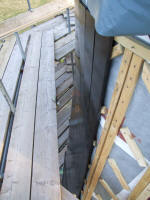
Vertical boarding at the top. |
|
(22nd March 2009) |
|
|
|
|
|
|
|
|
|
|
|
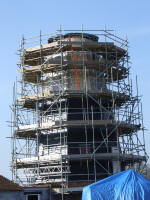
The boarding changes angle where the tower moves from octagonal to round. |
|
(22nd March 2009) |
|
|
|
|
|
|
|
|
|
|
Progress with the vertical boarding. |
|
(22nd March 2009) |
|
|
|
|
|
|
|
|
|
|
|
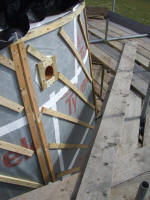
Ready for boarding; the hole is for a room vent. |
|
(22nd March 2009) |
|
|
|
|
|
|
go to April 2009
February 2009
- Weatherboarding continues.
back to top of page
|
|
|
|
|
|
|
|
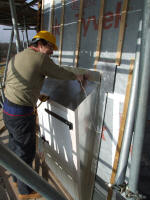
David finishing the flashing over one of the stage doors |
|
(20th February 2009) |
|
|
|
|
|
|
|
|
|
|
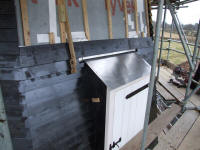
Boarding above the door, note the slot left for the awning to be fitted later. |
|
(28th February 2009) |
|
|
|
|
|
|
|
|
|
|
|
Boarding progress. |
|
(28th February 2009) |
|
|
|
|
|
|
go to March 2009
January 2009
- Weatherboarding well under way.
back to top of page
|
|
|
|
|
|
|
|
Boarding progress.
|
|
(4th January 2009) |
|
|
|
|
|
|
|
|
|
|
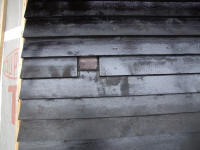
Room vent through the boarding - to be fitted with a cowl.
(4th January 2009) |
|
|
|
|
|
|
|
|
|
|
|
|
|
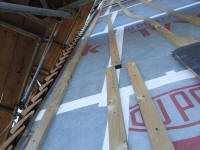
Detail of corner mitering.
(24th January 2009) |
|
|
|
|
|
|
|
|
|
|
|
|
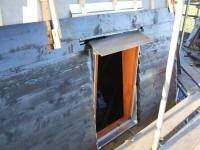
Boarding complete around a window - the actual window complete with side cheeks and awning will be fitted when all boarding is complete. |
|
(24th January 2009) |
|
|
|
|
|
|
|
|
|
|
|
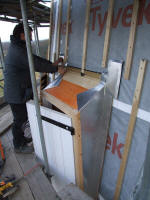
David fitting the flashing around one of the tower doors using 0.5mm half-hard aluminium. |
|
(30th January 2009) |
|
|
|
|
|
|
|
|
|
|
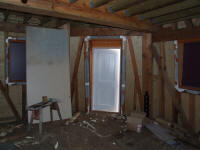
The tower door from the inside. |
|
(30th January 2009) |
|
|
|
|
|
|
go to February 2009
return to Latest News


